 You know how whenever you're having a really bad day, and you say to yourself, "it can't get any worse" and then ten minutes later it gets worse?
Yeahhhh... That was Sunday.
This weekend was my mother and I's birthday weekend. I get told a lot that my birthday kind of gets shafted, you know, with my mom's birthday the day before mine and Christmas 6 days away. You'd think it'd be like, "oh cool! I get double the presents!" but that's totally not the case.
It's more like... "oh, cool! my birthday present is my Christmas present too!"
*Awkward silence*
"....waaaaaaaaitaminute."
Yeah.
Totally not bitter or anything like that. Nope.
Kidding, in all honesty, I don't really mind. After I turned 15 I got really weird about birthdays. I just never liked them after that. Call me crazy, but a whole day devoted to me is not something I'm too into. And no, it's not because I'm Ms. Humble ;) It's because that every time my birthday rolls around, something happens that ends up ruining my whole day. Don't believe me? I can pretty much list every single birthday since I was 14 where somethings gone wrong. It's crazy.
My birthday is like an excuse for the universe to play russian roulette or rather, "let's-press-all-of-alex's-buttons" day. So I prefer to skip the whole birthday thing. It just makes it easier.
However, this year, I decided to bite the bullet and do something.
Instead of being a "party-pooper" on my own birthday, I went ahead and planned to do something I actually wanted to do. What better excuse? It's my birthday. You gotta do it, or else you'll end up on Santa's naughty list and get no presents.
At least that's what I tell my nieces and nephews.
What? It's the only perk of having a birthday close to Christmas. ;)
Anyway, I decided I wanted to bake my own cake (aka the only cake I'll eat besides rum cake), have all my family members over to play a board game, and just really spend time with my family. Something that I have been lacking horribly the past 5 months.
The day didn't start off bad... In fact, it was great. Filled with new york crumb cake and lots of (caffeinated) tea. It was wonderful. Church was awesome, and everyone sang me happy birthday, which caused me to sink into my chair, turn into a tomato and run to North Korea.
Then, all it took was a text message. Our vacuum had broken in the middle of my mother cleaning the house back at home. "Ok, figures," I think to myself, "at least that's all it was".
That should've been the first sign.
Next thing you know, I realize I have no ingredients for the cake I want to make. Ok, another bump in the road, not too bad... Go to the store, get the ingredients, and then see that I forgot the most crucial part of carrot cake.
Carrots.

So, there goes another trip to the store. I start to get jittery at this point, watching the clock all the while. I get home and try to get going as quickly as possible. I get all my ingredients ready, set everything up, butter my cake pans, preheat the oven....
And then the oven catches on fire.
Yeah.
Fire.
Flames.
Fiery flamey flames.
Next thing I know the whole house is filled with smoke and my neighbors are asking if I'm letting Bob Marley stay at my house. The smoke is so dense I can barely see the other side of the kitchen, and as the oven stays on it's not getting any better.
It's at this point that the universe wins and Alex goes into breakdown mode.
"I knew this was going to happen," I cried, shaking an invisible fist to the universe. "This always happens!"
Thankfully, my mom was there. And since she can magically make everything better, the day didn't end in disaster and fiery flames. She helped me calm down, clean up the oven, keep baking, and get everything done in time.
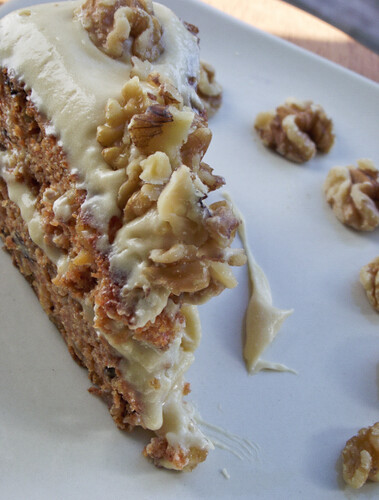
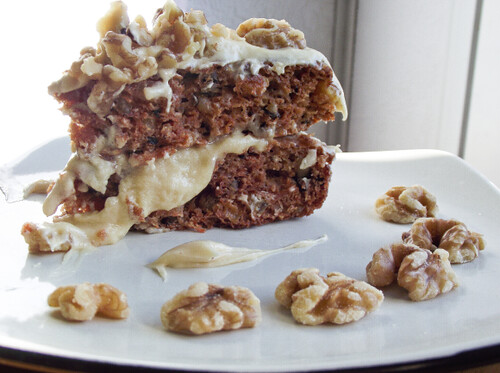
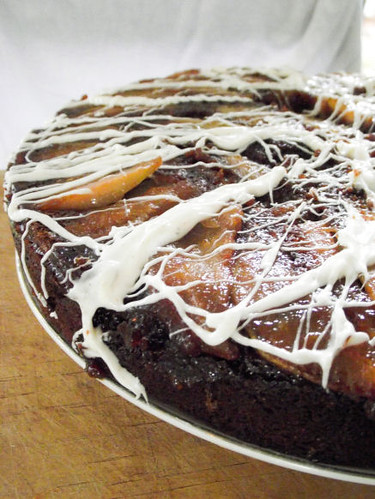
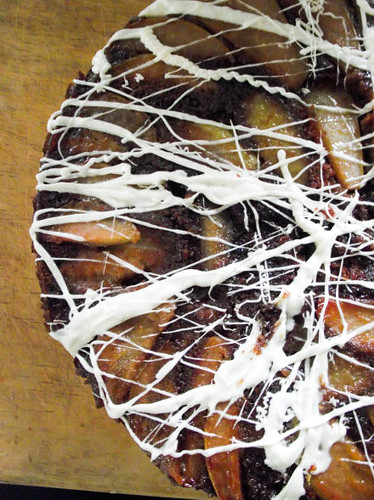
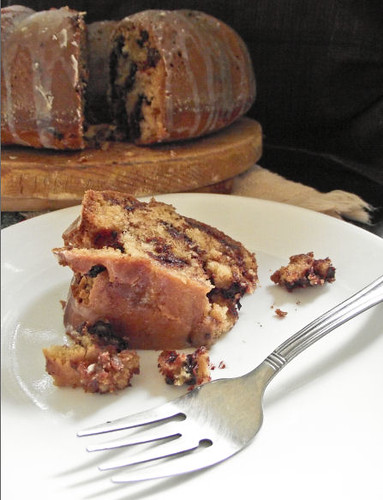
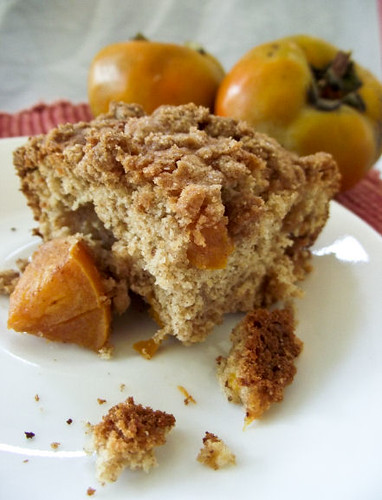
And you know what? Everything came out perfectly. The cake. The frosting. The party. The everything.
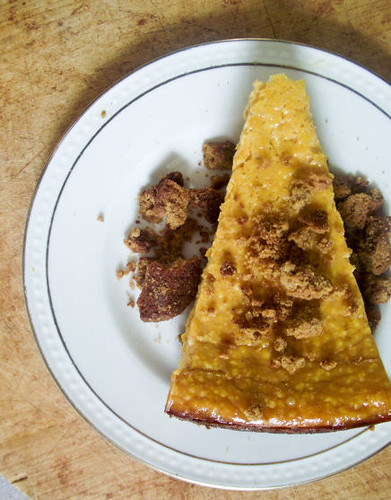
Overall, I did have a good birthday. And I had a freakin' delicious carrot cake to go with it. I honestly adore carrot cake. Probably the only cake I'll ever eat. And the brown sugar cream cheese frosting was such a complement to the cake... I loved it. The best part about this cake is that it has virtually no fat in it. I had even used 0 calorie granulated sugar and it was still amazing. I kept it moist with 0% greek yogurt and REAL brown sugar. The taste was tremendous and just lightly spiced. Over all the cake came out great. Although there is no coconut in this cake. I'm seriously against coconut in carrot cake... Sue me.
Carrot Cake with Brown Sugar Cream Cheese Frosting
INGREDIENTS:
2 cups flour
2 teaspoons ground cinnamon
2 teaspoons baking soda
1 teaspoon ground ginger
1/2 teaspoon ground cloves
1 cup greek yogurt (fat-free works fine)
1 cup brown sugar
1 cup granulated sugar (zero calorie sugar substitutes work fine for this cake)
4 eggs (I used 1 cup egg substitute)
1/2 cup crushed pineapple, drained of most its juice
2 teaspoons vanilla extract
1 cup chopped walnuts (I used more than this cause I love walnuts in carrot cake)
1 cup golden raisins
3 cups grated carrots (I finely grate mine to a pulp)
BROWN SUGAR CREAM CHEESE FROSTING INGREDIENTS:
8oz cream cheese, room temperature ( I used fat-free)
1/2 cup butter, room temperature (I used light)
1/2 cup brown sugar
1/2 teaspoon vanilla extract
1/2 teaspoon ground cinnamon (or pumpkin pie spice)
3 cups powdered sugar (add more as needed)
DIRECTIONS:
1. Whisk together flour, baking soda, spices and salt in a medium bowl. Set aside.
2. Preheat your oven to 350F degrees. Grease 1 9x13 inch pan or 2 8x8 cake pans with butter and flour.
3. Mix together greek yogurt and sugars until fully combined. Mix in egg substitute until incorporated (if using real eggs, beat in one at a time), and then proceed to mix in the crushed pineapple and vanilla extract.
4. Gently fold in walnuts, raisins and carrots, being careful not to overmix.
5. Pour into prepared cake pans and bake at 350F for about 40-50 minutes or until a toothpick comes out of the center clean and the cake is a slightly dark golden brown.
6. While cake is cooling, make the frosting. Blend together the cream cheese, butter, brown sugar, vanilla extract and cinnamon until smooth. Add in powdered sugar 1 cup at a time until you've reached a stiff, smooth frosting. In other words, if you use a spatula to pick up the frosting from the bowl and the frosting is dripping off your spatula, you need more powdered sugar. Set the frosting aside or put in covered container in the fridge until cake is cooled and ready.
7. Cool in pan for 10 minutes before transferring to a plate. Cover with plastic wrap and refrigerate until you are ready to frost (this is also helpful for cooling the cake down quicker so the frosting does not melt). Once cake is cooled, frost with brown sugar cream cheese frosting any way you'd like.
 So I've decided that Mother Nature is having a temper tantrum this week.
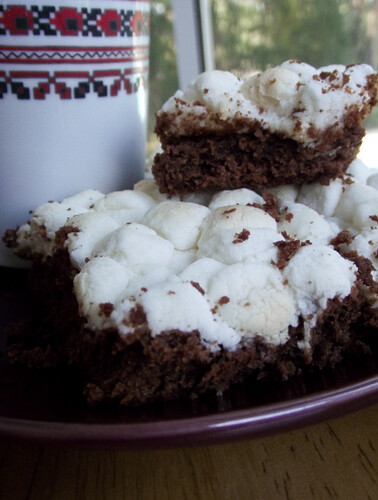
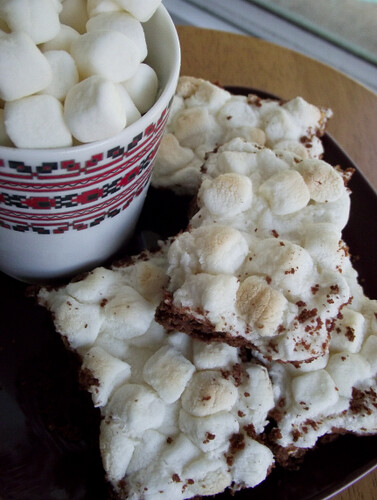
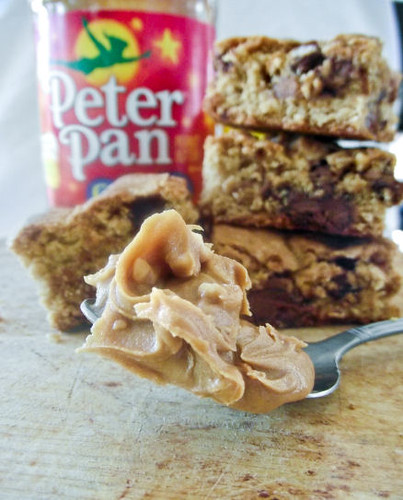
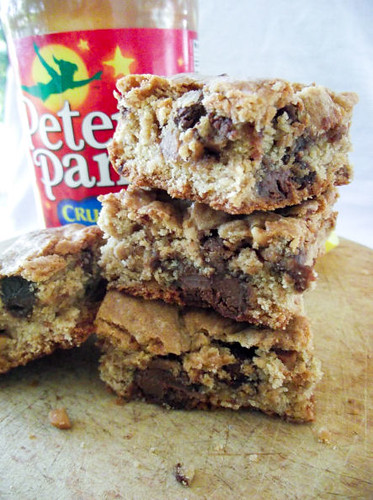
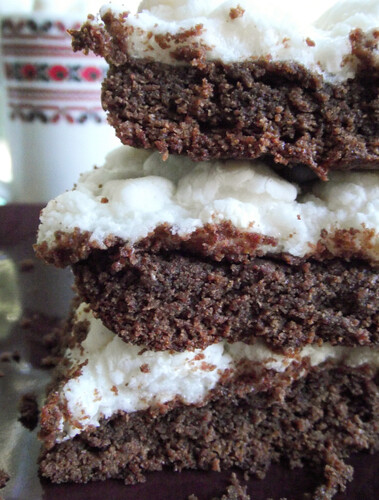 These bars awesome because of four reasons:
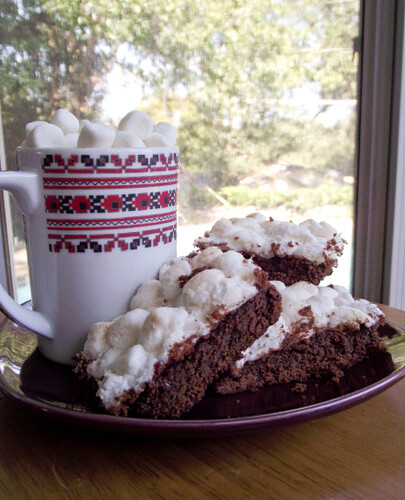
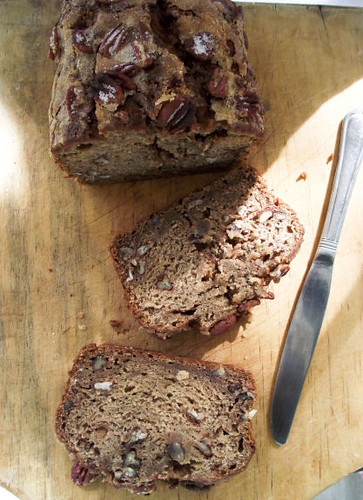 I'm still not quite sure what part of me thought it was a good idea to get on an airplane during the Holidays and think that somehow nothing would go wrong.
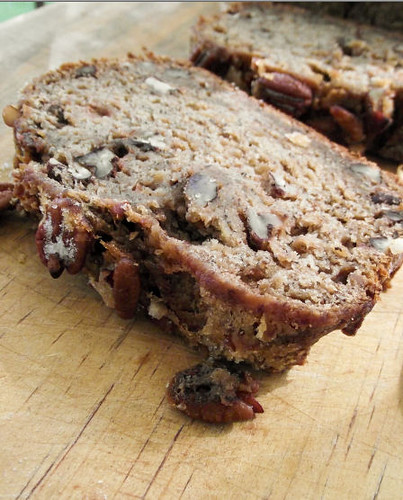


